Goddess Statues
Summary
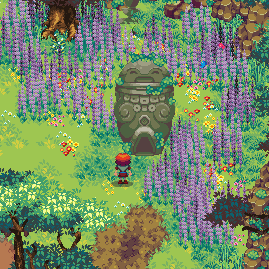
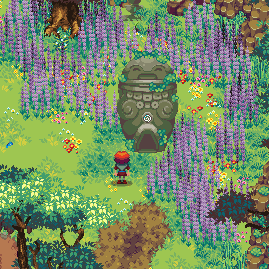
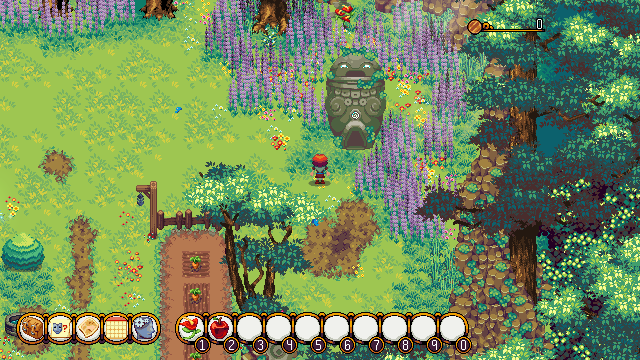
Goddess statues can be discovered all about Quill. Once discovered its central symbol lights up and becomes usable for both fast travel and for making weekly offerings
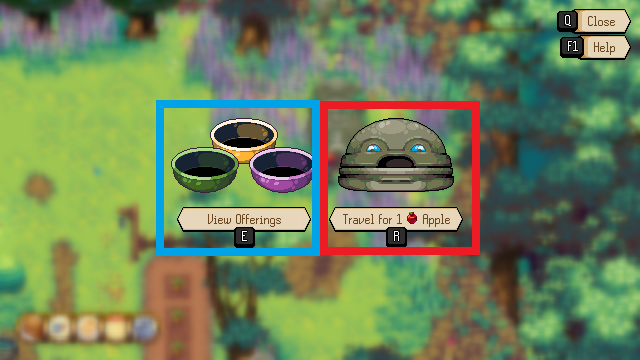
Interacting with the statues brings up two options
Red
Fast travel between discovered statues
Blue
Make an offering or view your currently active boons and curses
Fast Travel
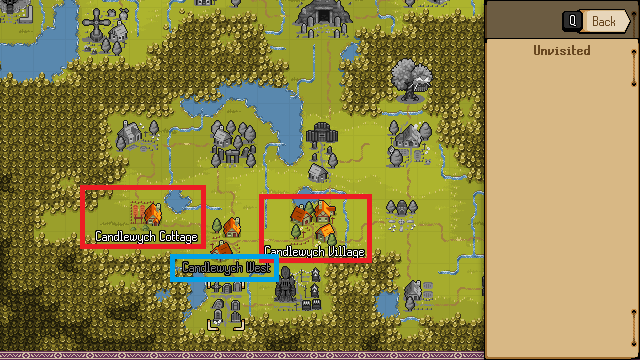
Opening the fast travel option brings you to the world map. From here you can select a new location to travel to for the cost of 1 apple.
Red
Locations where the player has discovered a usable goddess statue have their text highlighted in white. Selecting one of these options would allow you to instantly travel to the new location.
Blue
Locations that have been visited but have no usuable goddess statue have grey text. You will not be able to fast travel to these location via goddess statues. Other methods are available.
Offerings
On Goddess Day (7 & 14) the eyes on the statue will light up and the mouth opens. This indicates that the statue is ready for an offering.
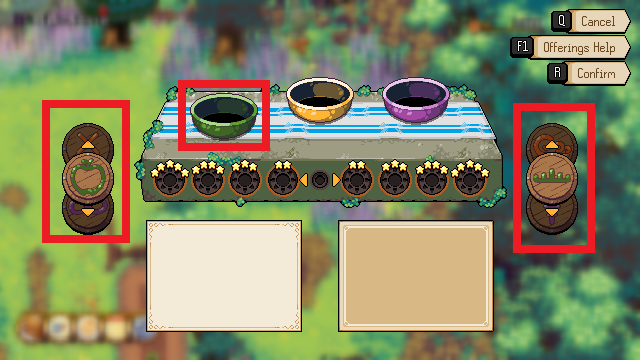
When opening the offering menu you must select which one of the pairs of goddess to offer an item too first.
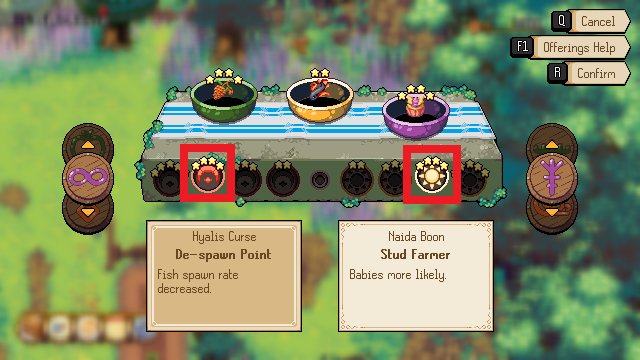
Cycling verticall through the symbols on either side of the screen will rotate through each pair, highlighting the corresponding bowl at the same time.
Red
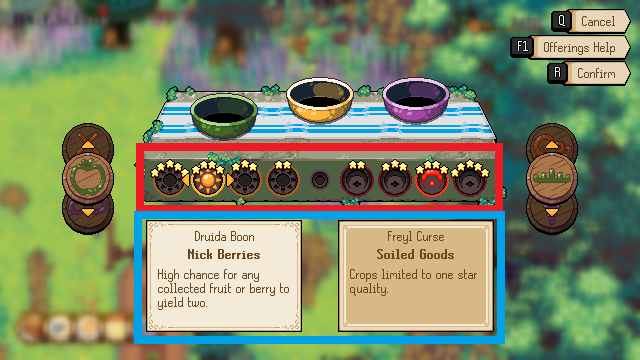
Once a selection has been made you can cycle horizontally though the available boons. The left set of symbols corresponds to one of the goddess and the right set corresponds to the other goddess in the pair.
Moving the selection to the left lights up the boons for the left goddess. At the same time the right goddess mirrors the selection by displaying its curse. The start rating above each symbol indicates the strength of the boon/curse and the quality of the item that must be offered to unlock it.
Its not possible to please both goddess at the same time, you must pick one over the other and suffer the curse along side the boon.
Blue
The cards below give a more detailed description of both the boon and curse that is currently selected.
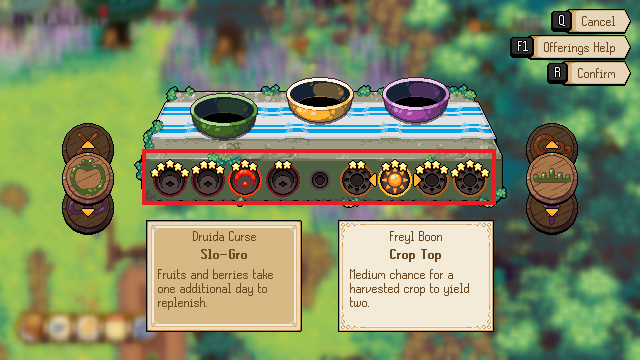
Moving the selection to the right reverses the boons and curses. You are now making a favourable offering to the opposite godess on the right hand side, whilst simultaneously angering the left.
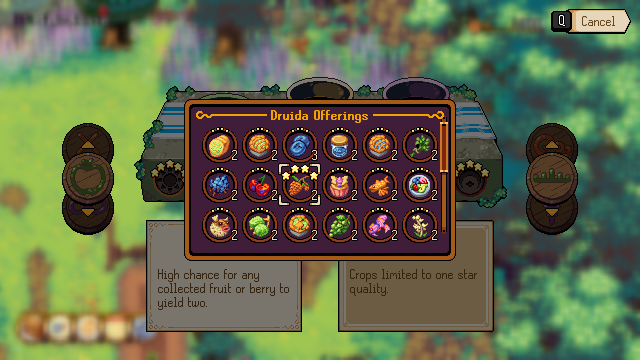
Once a boon is selected you'll be taken to a filtered version of you inventory, displaying only the items that the current goddess finds appealing at the quality thats necessary for the chosen boon.
If you don't have an items that fit this criteria, then you won't be able to make an offering at that spot.
Once you have made an offering the item appears in the bowl and the symbols light up. Upon confirmation, these choices will be locked in for the week.
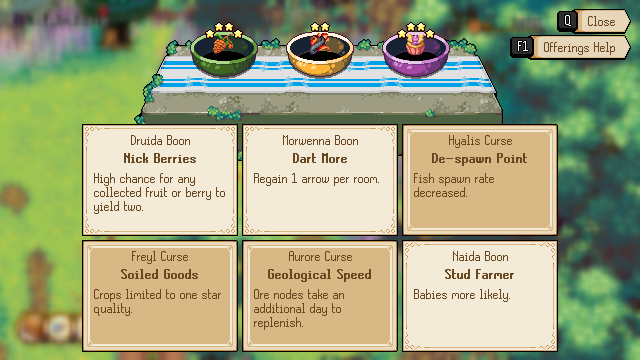
After the confirmation has been made, a final screen will display each of the boon and curse pairings that you'll have active for the coming week
The statues chest will now light up to indicate that a offering has been made this week. The effects of these boons and curses will last all week, until the next goddess day, when everything is reset and you can make a new set of offerings.
You don't have to make an offering in every bowl but failing to make any offering will result in you being assigned a single curse to last for the week. If you repeat your mistake the following week another curse will be added to that total. This will continue until an offering is made.
